Affiliate links may be used in this post. I may receive a small commission at no extra cost to you if you make a purchase through my affiliate link
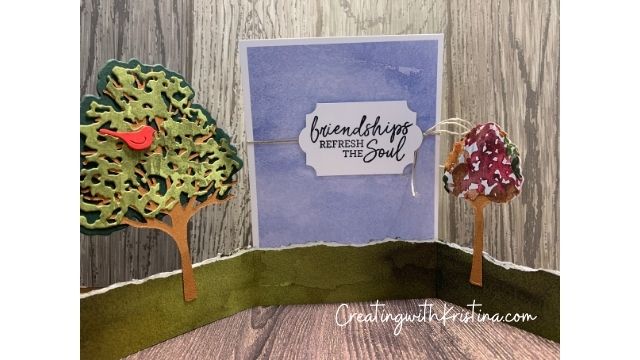
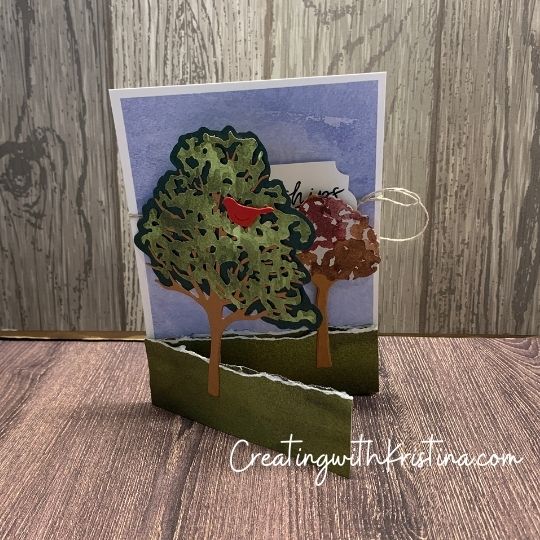
In today’s video I’m going to show you and easy way to adhere mirror images together and make an outdoor scene with trees and birds. A perfect card to send to a special somebody. I got this card idea from Lou Kitzelman from Australia at our last Stampin Up conference
Measurements
- Card base – 5 ½” x 4” or 14 cm x 10 cm
- Card mat – 5 ¼” x 3 ¾” or 13.5 cm x 9.5 cm
- Folding arms x 2 – ¾” x 4 ½” or 2 cm x 11.5 cm
- Designer Series Paper x 2 – 1 ½” x 4” or 4 cm x 10 cm
- Designer Series Paper x 1 – 1 ½” x 12” or 4 cm x 30.5 cm
- Large tree trunks x 2
- Solid tree top x 1
- Holey tree top x 2 – Designer Series Paper
- Small tree trunk x 1
- Small tree top x 3
- Birds x 2
Instructions
- Score in ½” or 1.5 cm on one end of each of the folding arms.
- Add adhesive to the small end tab of each folding arm and adhere to card
base. Add one arm to each side of the card, lining the score line up with the
side edge. See diagram opposite. - Adhere the card mat to the card base.
- Tear along the top edge of the longest piece of DSP. Adhere to the inside of
the card as shown above. Trim edges to line up with the edge of each folding arm. - Close the arms by folding the right one in first, then the left. Adhere the 2 small pieces of DSP to the front of
each folding arm and tear to match the DSP on the inside. - Build the scene by adding the trees as shown. You may need to keep closing your card to see where things
will sit once closed. Adhere one large tree trunk to each side of the DSP ‘grass’ for stability before
constructing your tree. The dies are not symmetrical so you will need to cut from the back of the paper for
the holey tree top of one side so that it fits inside the solid tree top.



Perfect for my woods-working-fisherman grandson’s birthday! Thanks for the heads up on the symmetrical cuts. I’m a new S.U. Demo.