Affiliate links may be used in this post. I may receive a small commission at no extra cost to you if you make a purchase through my affiliate link
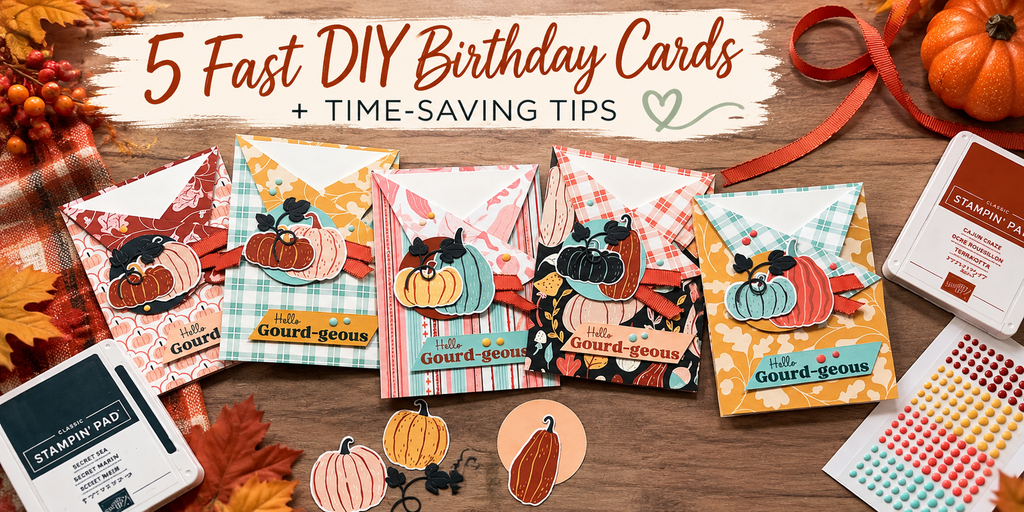
Have you ever opened your birthday card stash only to discover you have plenty of cards—but none that are quite right for the birthdays coming up?
That’s exactly what happened to me! With September birthdays piling up and fall just around the corner, I discovered I had only two fall birthday cards ready to send. I knew it was time for a little DIY Birthday Card Marathon!
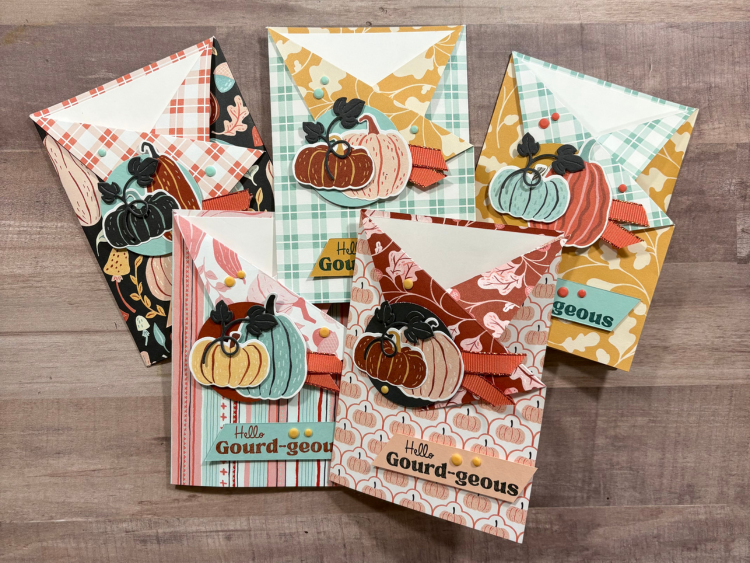
For this project, I pulled out the beautiful Painted Pumpkin Suite from Stampin’ Up! and challenged myself to make five birthday cards quickly. Instead of creating five completely different designs, I used one easy fun fold and turned the process into an assembly line.
Making cards faster isn’t about rushing. It’s about making fewer decisions.
6 Time-Saving Card Making Tips
1. Start With Products That Coordinate
This is probably my biggest time saver.
Instead of pulling paper from one place, cardstock from another and then trying to figure out which ink and embellishments match, start with a coordinating collection.
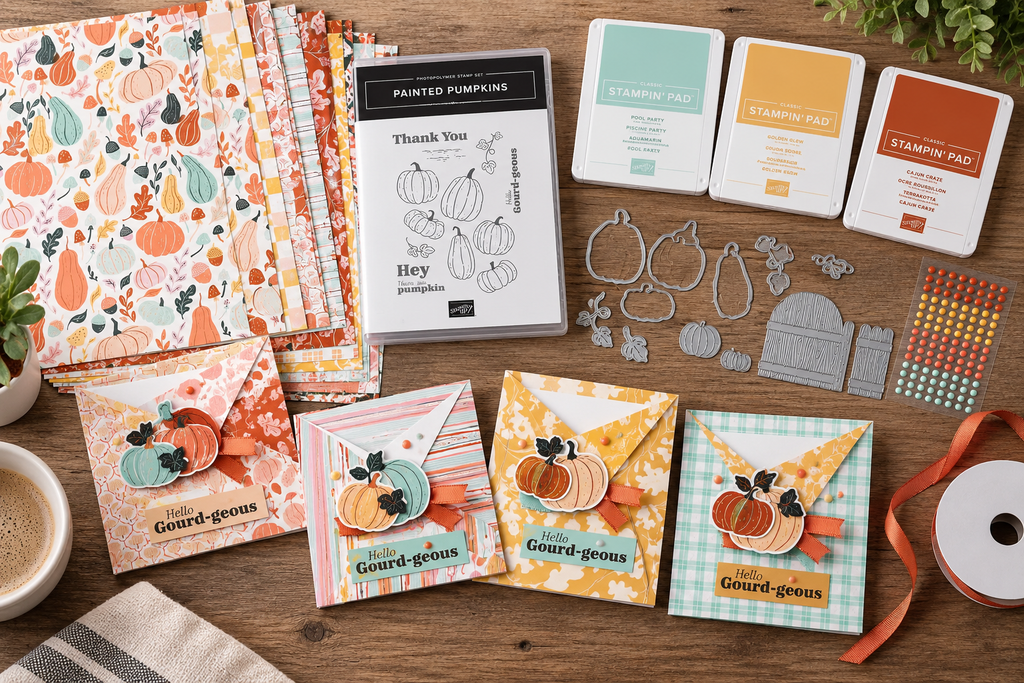
For these birthday cards, the Painted Pumpkin products gave me a ready-made color palette and coordinating Designer Series Paper, stamps, dies and embellishments. That meant fewer decisions before I ever started crafting.
And don’t forget to let that beautiful Designer Series Paper do some of the work for you! A gorgeous paper can become a major part of your card design without adding more stamping or layers.
2. Use the Catalog for Inspiration
You don’t always have to start with a blank slate!
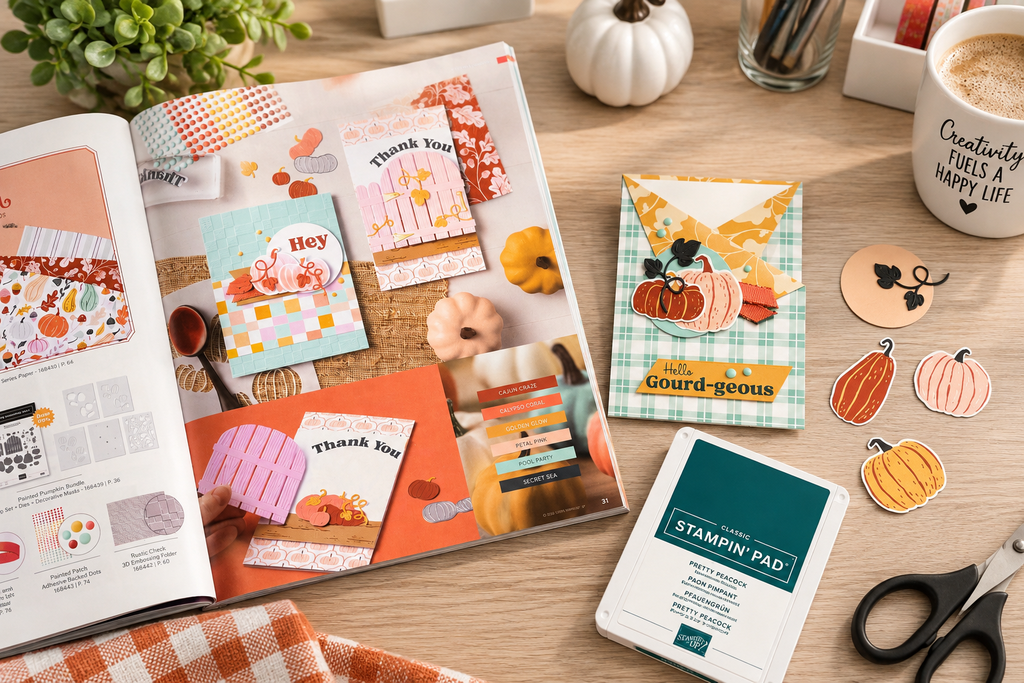
One of my favorite card making tips is to look through the Stampin’ Up! catalog for ideas. You don’t have to copy an entire project. Look at the samples for inspiration for a focal point, color combination, embellishment placement or interesting way to use a stamp.
For these cards, one of the catalog samples helped inspire the simple focal point I used throughout the batch.
And by the way, if you need a current Stampin’ Up! catalog, let me know! I’d be happy to help you get one.
3. Keep Your Focal Point Simple
When you’re making several cards at once, this probably isn’t the time for an elaborate focal point with 27 tiny die-cut pieces!
Choose something attractive but simple, and repeat it.
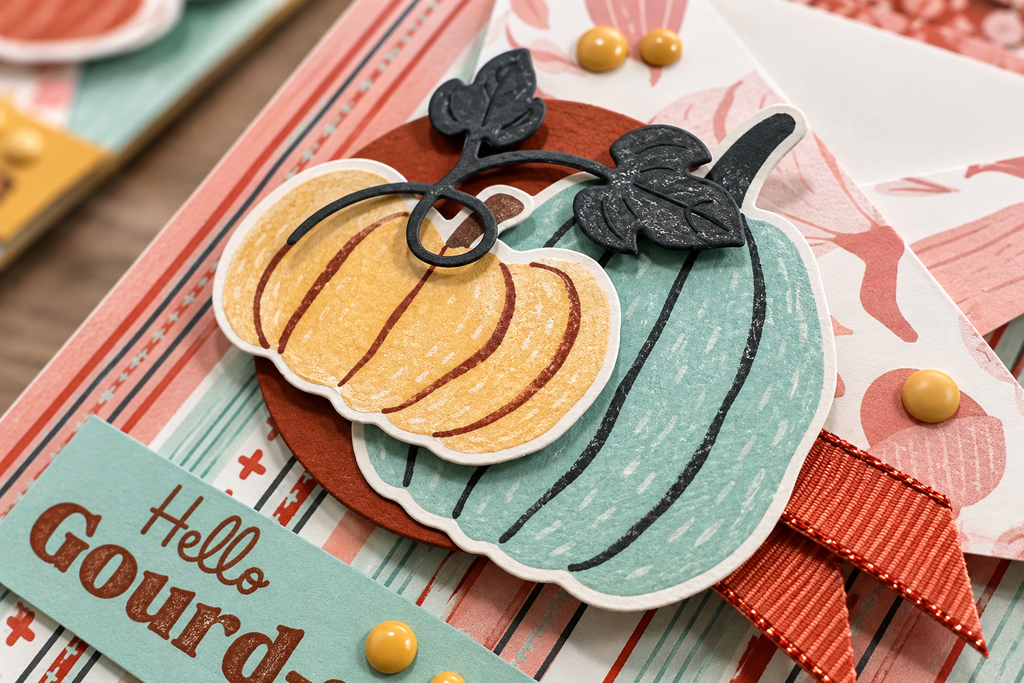
I used the same basic pumpkin focal point on each card but changed colors and individual elements to coordinate with the different papers. The cards feel like a collection without all looking exactly alike.
4. Prep Everything Before You Start
This is where the magic happens.
Before assembling my cards, I had my paper cut, die-cut pieces ready, stamps mounted and supplies organized into little piles. I even used punches and took advantage of opportunities to cut multiple pieces at once.
Think about how much time we lose while card making because we continually stop to find another tool, choose another color or cut another piece.
Do the prep first and then put those tools away!
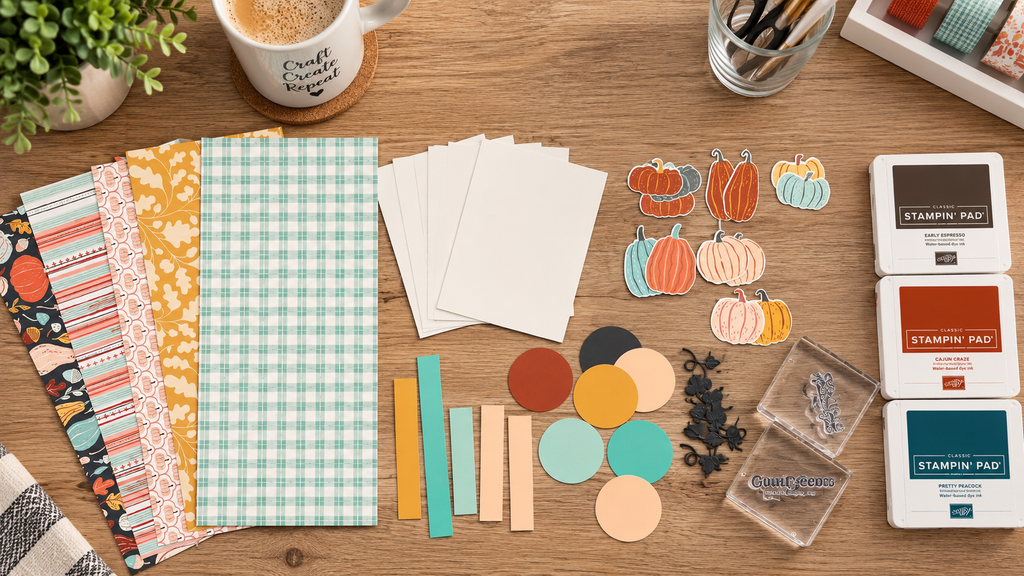
5. Work Assembly-Line Style
Instead of completing Card #1 from beginning to end and then starting Card #2, do the same task on all your cards at once.
Score them all. Fold them all. Stamp all the sentiments. Add all the inside pieces. Build all the focal points.
You’re already holding the tool and have the supplies in front of you, so finish that particular job before moving on.
That’s exactly how I worked through these five cards in the video.
6. Use the Same Recipe—but Change the Paper!
Mass producing does not mean your cards have to be identical.
This may be my favorite part of this project.
I used the same measurements, same fun fold and same basic focal point, but different patterns from the Painted Pumpkin Designer Series Paper gave each birthday card its own personality.
It’s also a great excuse to stop saving all that pretty paper and actually use it!
Watch Me Make All 5 DIY Birthday Cards
I decided to watch the clock while making these, and with talking, demonstrating and crafting along with everyone, I completed the five cards in about 37 minutes—from 12:09 to 12:46—after doing my initial prep ahead of time.
Not bad for five handmade birthday cards!
And if you aren’t filming a live video and chatting while you craft, I have a feeling you’ll be even faster. 😉
Want to Make These Cards?
Rather than putting all the measurements and step-by-step instructions here, I’ve created a downloadable tutorial you can keep right beside you while you craft.
You’ll find the measurements and project details there, and you can use the same basic design again and again with completely different Designer Series Papers.
Once you learn the recipe, imagine the possibilities—Christmas, thank-you, thinking-of-you, masculine cards and more.
So, before you buy another package of pretty paper, take a peek at the stash you already have. Pick a coordinating collection, choose one simple design, prep everything at once and see how many cards you can create in one sitting!
Create • Connect • Encourage 💚

Leave a Reply