Affiliate links may be used in this post. I may receive a small commission at no extra cost to you if you make a purchase through my affiliate link
Have you ever come home from an amazing vacation, looked at hundreds (or even thousands!) of photos, and wondered, “Where do I even begin?” If you’re looking for a few simple travel album tips, you’re not alone.
I’ve been doing exactly that after our Oregon RV adventure and Alaska cruise. Looking through all those wonderful memories has been almost as much fun as the trip itself—but organizing them into a scrapbook can feel overwhelming.
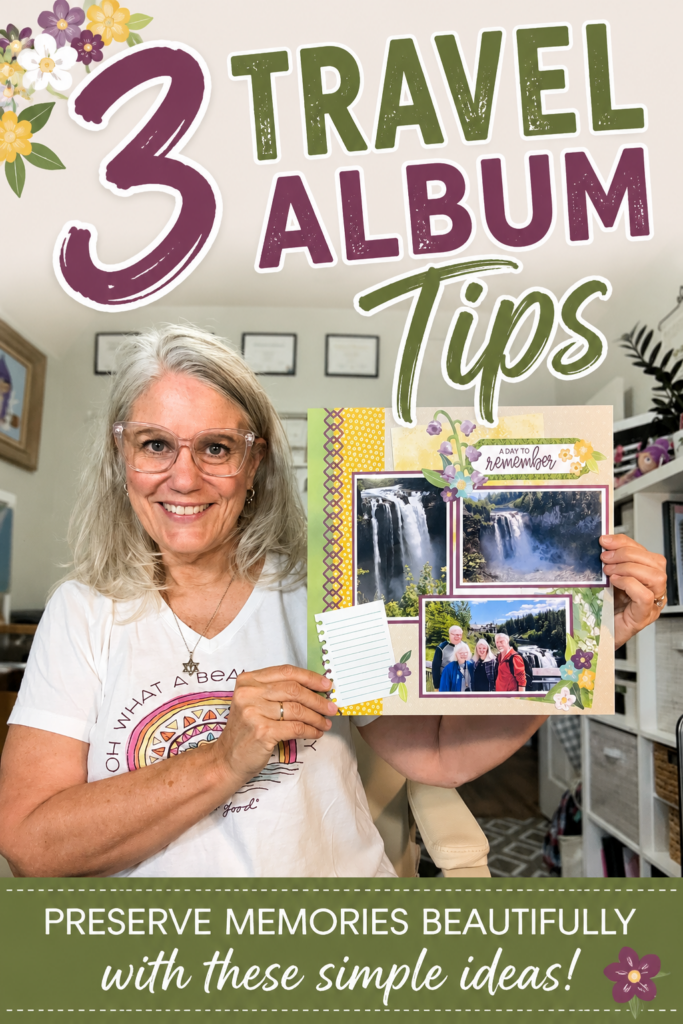
As I started creating one of my first scrapbook pages from the trip, I realized there are three travel album tips that have helped me over the years. Whether you’re creating a travel scrapbook for a weekend getaway or the trip of a lifetime, these simple ideas will make preserving your memories easier—and much more enjoyable.
See These Travel Album Tips in Action
If you’d like to see these tips in action while I build the scrapbook page, I’ve included the full video below. Then keep scrolling for a written version you can easily refer back to whenever you’re planning your next travel album.
Now that you’ve seen the page come together, let’s take a closer look at the three travel album tips that make the biggest difference when preserving your vacation memories.
Travel Album Tip #1: Keep a Daily Travel Journal
If I could only give one piece of advice, this would be it.
Write something down every single day of your trip.
Trust me—you won’t remember all the little details a week later, much less months later when you’re ready to scrapbook.
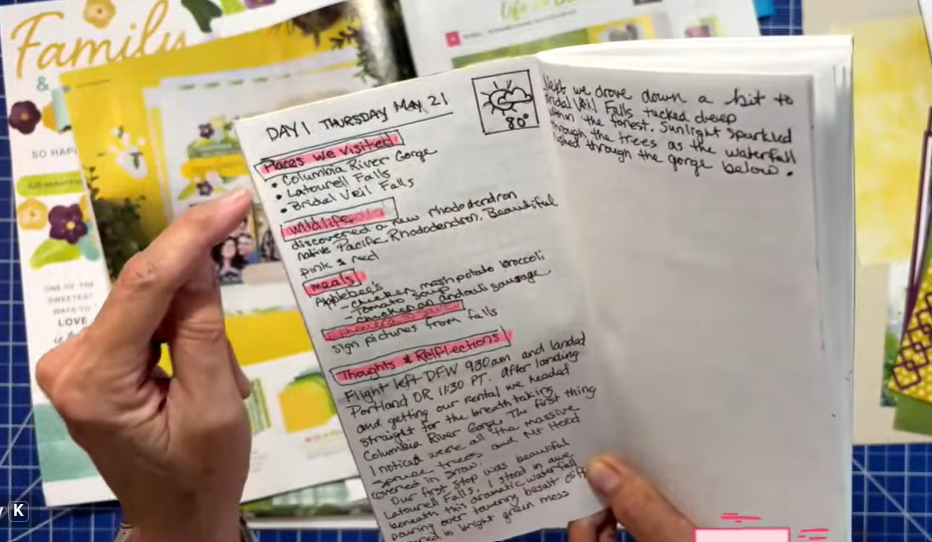
I like to carry a small travel journal that fits in my purse or backpack. It doesn’t have to be fancy. The important thing is simply recording your memories while they’re fresh.
Each Day I Record:
- Date
- Weather and temperature
- Places we visited
- Wildlife we spotted
- Meals we enjoyed
- Tickets, brochures, maps, or other ephemera
- Personal thoughts and favorite moments
Many days on our trip included four or five different stops. Without my journal, I never would have remembered where each photo was taken or the stories behind them.
When it came time to scrapbook my page about Snoqualmie Falls and visiting my cousin outside Seattle, my journal became my best resource.
Future you will be so thankful you took a few minutes each day to write things down.
Travel Album Tip #2: Reduce Album Bulk by “Welding” Your Paper
Travel albums tend to become thick very quickly.
If you’re creating a 40–50 page album, every extra layer adds up.
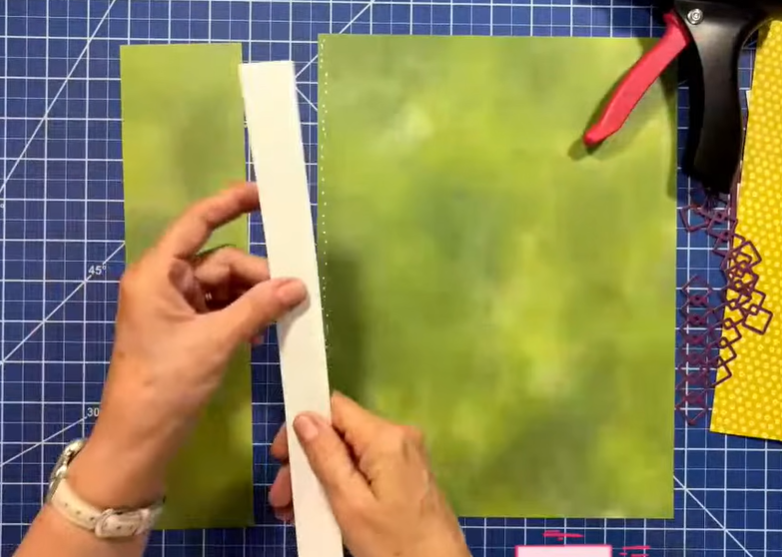
One trick I’ve used for years is what scrapbookers often call welding paper.
Instead of layering multiple full sheets:
- Cut a strip from your background paper.
- Flip it over if you want to use the reverse side.
- Join the pieces together on the back with a narrow strip of acid-free scrapbook-safe paper.
- Glue the strip across the seam
The finished page looks like one continuous sheet, but you’ve eliminated several bulky layers.
Benefits of Welding Paper
- Keeps albums from becoming overly thick
- Saves cardstock
- Creates a seamless background
- Makes large travel albums easier to handle
It’s a simple little trick, but it makes a huge difference over the course of an entire vacation album.
Travel Album Tip #3: Let Your Paper Inspire Your Photos
Many scrapbookers choose paper after selecting their photos.
I often do the opposite.
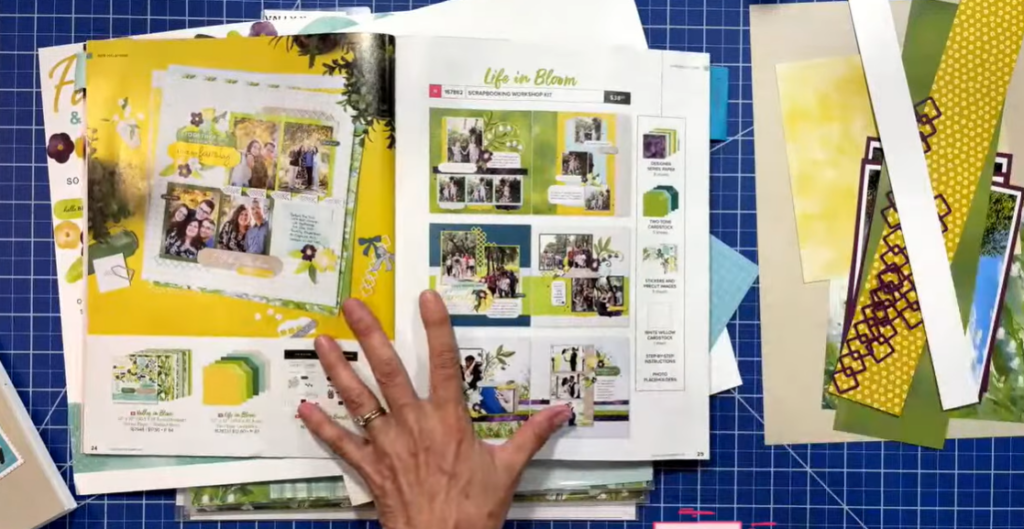
Instead, I’ll pull out a scrapbook collection or suite that I love and ask myself:
“Which photos would look beautiful with these colors and designs?”
For this page, I used the Valley in Bloom scrapbook collection because its soft florals and colors perfectly complemented the lush greenery around Snoqualmie Falls.
Rather than forcing a paper collection to work, I simply matched it to the memories that already fit its style.
This Approach Helps You:
- Use your scrapbook collections more often
- Create cohesive layouts
- Make color coordination much easier
- Tell a stronger visual story
Sometimes the perfect page starts with the paper—not the photos.
A Few More Favorite Ideas
Along the way, I also like to:
Save Ephemera
Little keepsakes help tell the story of your trip.
Think about saving:
- Brochures
- Maps
- Menus
- Admission tickets
- Hotel key sleeves
- Stickers
- Small signs or printed souvenirs
These tiny details bring your scrapbook pages to life.
Mat Your Photos
Adding a small white border and a coordinating cardstock mat helps photos stand out while tying your color palette together.
It’s a simple finishing touch that makes every layout look polished.
Build Your Layout Around the Story
Remember, you’re not just arranging photos.
You’re preserving memories.
Think about:
- What happened?
- Who was there?
- What made this moment special?
- What do you want your family to remember years from now?
Those answers will help guide every design decision you make.
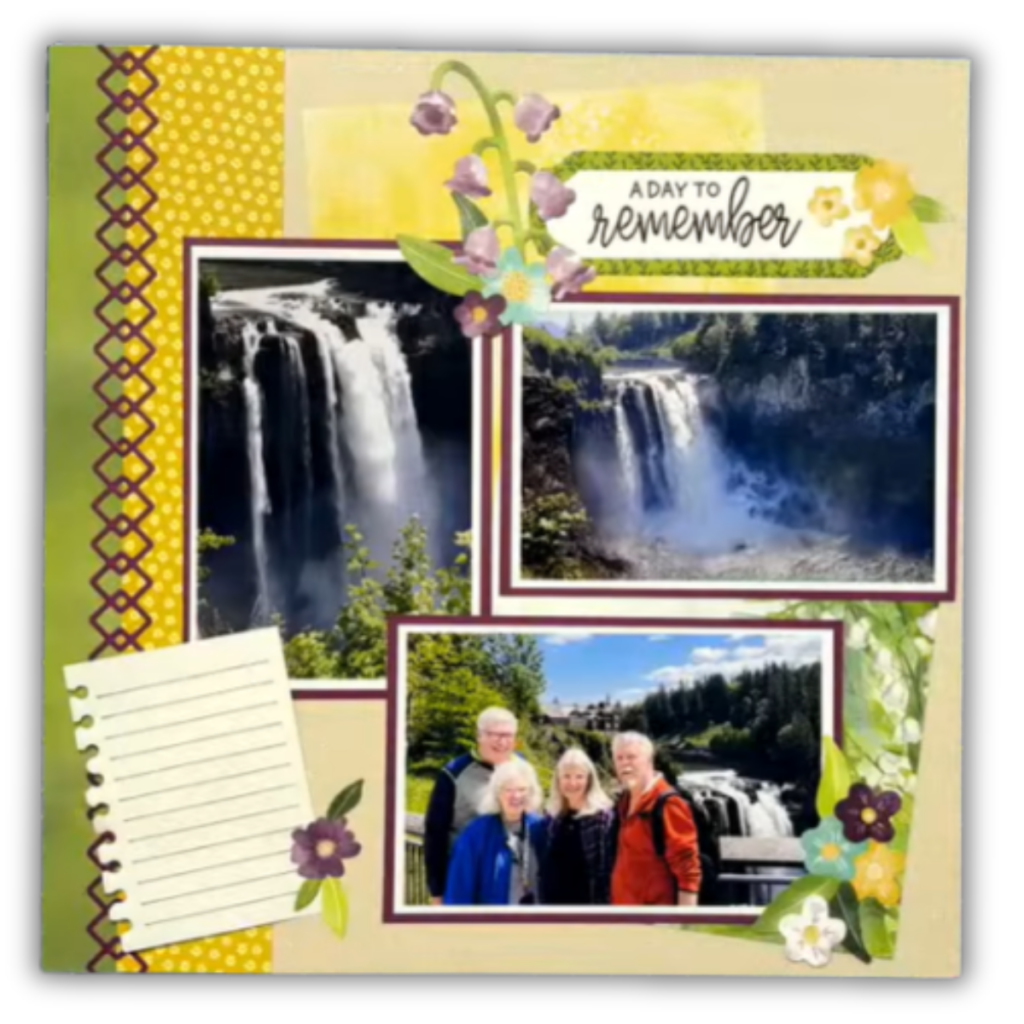
Me and my cousin at Snoqualmie Fall, Washington
Final Thoughts
Travel scrapbooking isn’t about creating perfect pages.
It’s about preserving the moments that matter most.
When you:
- Keep a daily journal
- Reduce bulk with paper welding
- Match your photos to collections you love
…you’ll spend less time feeling overwhelmed and more time enjoying the creative process.
Years from now, your scrapbook won’t just remind you where you went—it will remind you how you felt while you were there.
And to me, that’s what memory keeping is all about.
Key Takeaways
- Keep a simple travel journal every day of your trip.
- Use paper welding to keep thick travel albums manageable.
- Choose scrapbook collections first, then find photos that match.
- Save ephemera to help tell your story.
- Focus on preserving memories, not creating perfection.
📌 Save These Travel Album Tips for Later
If these ideas sparked your creativity, don’t let them get lost! 📌 Click the Pinterest Save button on the image to pin it to your favorite scrapbook board. You’ll have these travel album tips handy the next time you’re ready to turn your vacation memories into beautiful pages.
If you’re looking for more travel scrapbook ideas try these
Craft Your Journey: Building the Ultimate Travel Scrapbook Album



Leave a Reply